
9 pro tips for building process flows in Lucidchart
Reading time: about 6 min
Optimizing your processes is one of the most impactful ways to improve overall business operations. Strong processes and proper documentation of those processes boost agility, strengthen collaboration, and build alignment. In this blog post, we’ll share nine tips and shortcuts for creating process flow diagrams more quickly, clearly, and effectively. Let’s get started.
Tip #1: Increase adoption and clarity through styling your diagram
Style and formatting matter if you want your process flow to be clear and impactful for team members.
Create a custom shape library for every process diagram to set a consistent style. This library saves time searching for the specific shapes you want each time and helps team members know which shapes to use.
- Open the shape manager by clicking the Shapes icon in the left-hand toolbar and then the More shapes button or press M on your keyboard.
- Click + next to My libraries, and name your new shape library.
- Add shapes.
- Click the Share button to make these shapes available to everybody on your team and establish them as company standard.
- Once you close the shape manager, the new custom library will be added to the Shape menu on the left side of the Lucidchart editor. Now you can simply drag shapes from the canvas and drop them into your custom library.
In addition to using the same shapes, you may want to use your branded colors for consistency. Simply drag and drop an image of your company logo or brand palette onto the canvas, and follow these steps to apply these colors to your shapes:
- Select a shape or Shift + Click to select multiple shapes.
- Click the Fill color or Line color icon located in the top toolbar on your canvas.
- Click the color picker icon to select a color from a palette you have placed on the canvas.
- You can also select a theme by clicking the Apply theme button. From there, you'll be prompted to choose from a variety of pre-made themes.

Want to take your visuals to the next level? Watch our on-demand webinar.
Watch nowTip #2: Add a diagram key
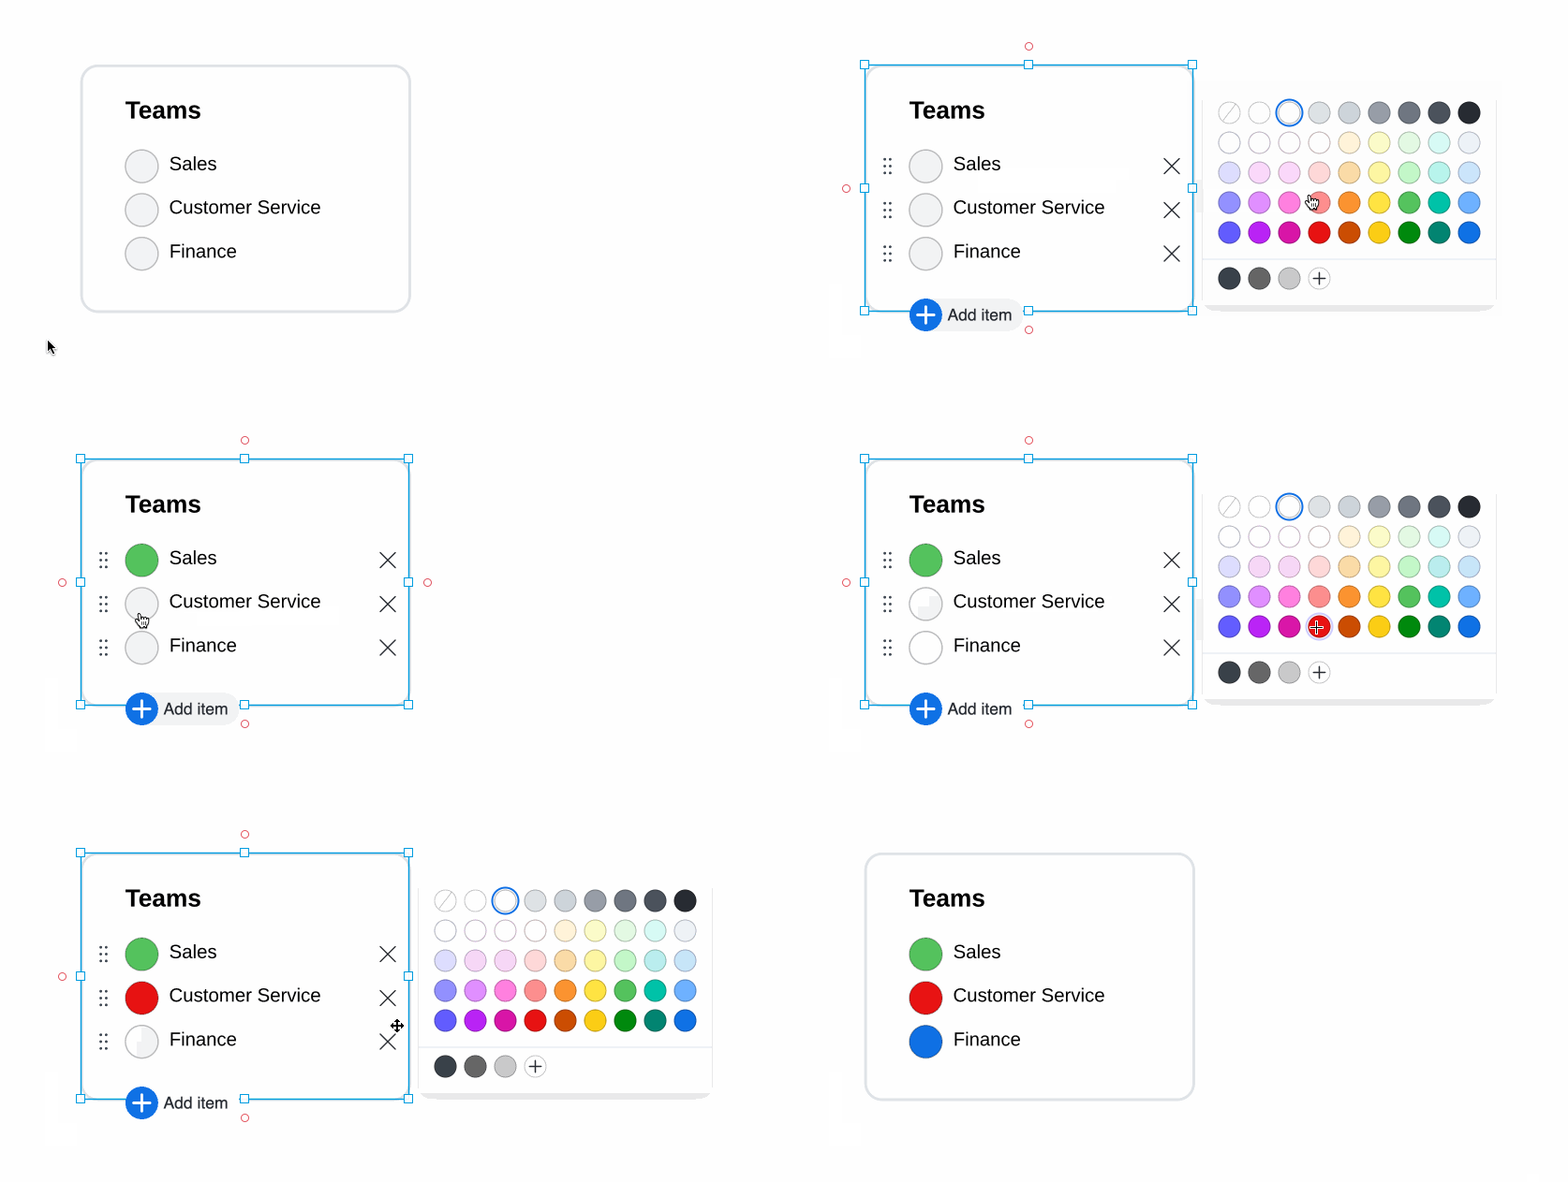
Increase clarity and alignment to your process flow diagram by adding a diagram key to your document explaining the meaning of the different shapes, lines, and colors in your diagram.
Here's how:
- Locate the Standard shape library in the Shape menu to the right of your document.
- Drag the diagram key shape onto the canvas.
- From there, you can customize your diagram key by giving it a name and updating each item with a name and color.
Tip #3: Make your process flow a single source of truth
Gather all resources and references used in creating your process flow in one place. Having a central location for important documentation and resources is essential for decision-making, problem-solving, and getting everyone aligned. Add links to your process flow to make your diagram more dynamic and detailed. Include links to external documentation in the following steps:
- Right-click a shape that’s relevant to your external documentation.
- Select Add link.
- Choose Page.
- Select the page that has the subprocess, and click Done.

Learn more about the benefits of a single source of truth.
Read nowTip #4: Make your diagram accessible to streamline collaboration
Lucid has several sharing options so that you can securely share documents from a centralized location with your team members. Simply click the “Share” button in the upper right-hand corner of the screen and enter the names or email addresses of the people you want to share the document with. Or, create a shareable link and send it to the people you want to view the document.
When the document is easily accessible, you and your co-workers can open it from anywhere to work in real time. Leave comments, questions, and instructions addressed to specific team members on steps or shapes within your process. Just follow these few steps:
- Right-click on a shape and select “Add Comment.”
- In the dialog box, type @ followed by the team member’s name.
- Type your comment or question.
- Click Comment.
Tip #5: Assign status to indicate the current process phase
Let all of your team members know what the current status of the document is so they will know what has been done, what needs to be reviewed, and what still needs to be done.
- On your documents page, click the More options icon (the three vertical dots) on the document you want to work with.
- From the pop-up menu, select Assign status.
- Select a status to let team members know which phase the document is in. You can choose one of the following: Draft, Approved, Rejected, Complete, Pending Review, High Priority, In the works, In Progress, Locked Status, or Retired.
Tip #6: Create layers to compare current and future process states
You can create layers within your diagrams to compare the current state and proposed future state. Adding the proposed change on top of the current state makes it easier to see and understand what kind of impact the change will have on the process.
To add layers to your document:
- Click the Layers icon in the bottom right-hand corner of the canvas.
- In the Layers panel, click + Layer. A tab representing the new layer is added to the panel.
- Name the layer. This layer will represent the process flow as it is currently drawn on the canvas.
- Click + Layer again to add a new layer. This layer will represent the proposed future state of the flow.
- With the future state layer selected, add the shapes and lines you want to the canvas.
- Add shapes to the blank canvas to create buttons.
- Click the lightening bolt icon above the canvas to select what will happen when the user clicks the button (hide or show the layers).

Learn more about creating layers in Lucidchart.
Learn moreTip #7: Break larger processes into subprocesses
Process flows can become huge and hard to navigate. Breaking them down into subprocesses makes them easier to digest. You can link to the subprocesses so that relevant information is available and can be quickly accessed without needing to scan the entire process diagram.
- Create a subprocess on a separate page.
- On the page with your main process flow, right-click the shape that you want to use to link to the subprocess.
- Select Add link.
- Choose Page.
Now when a user clicks on that link in the main page of your process diagram, the subprocess will open, making it easier to see the information they need.
Tip #8: Present process diagrams to your team
Explain current and proposed workflows easily when you turn your diagram into a polished presentation directly in Lucidchart. You can even place slides around specific parts of your diagram to run through the process step by step to give your team a thorough overview before seeking feedback or asking them to execute the process.
To use the Presentation Builder:
- Click the Presentation Builder icon in the top-right of the canvas.
- Click + Add new slide to add a selection box to the canvas.
- Drag the corners to resize the box.
- Click and drag. the selection box to move the box to another area on the canvas.
- Repeat this process to create additional slides.
- When you’re ready to present, click Present slides.
If you use Google Slides, you can also click Send to Google Slides once you complete this process to export your slides into a presentation that can be shared with and viewed by your team.

Tip #9: Leverage templates
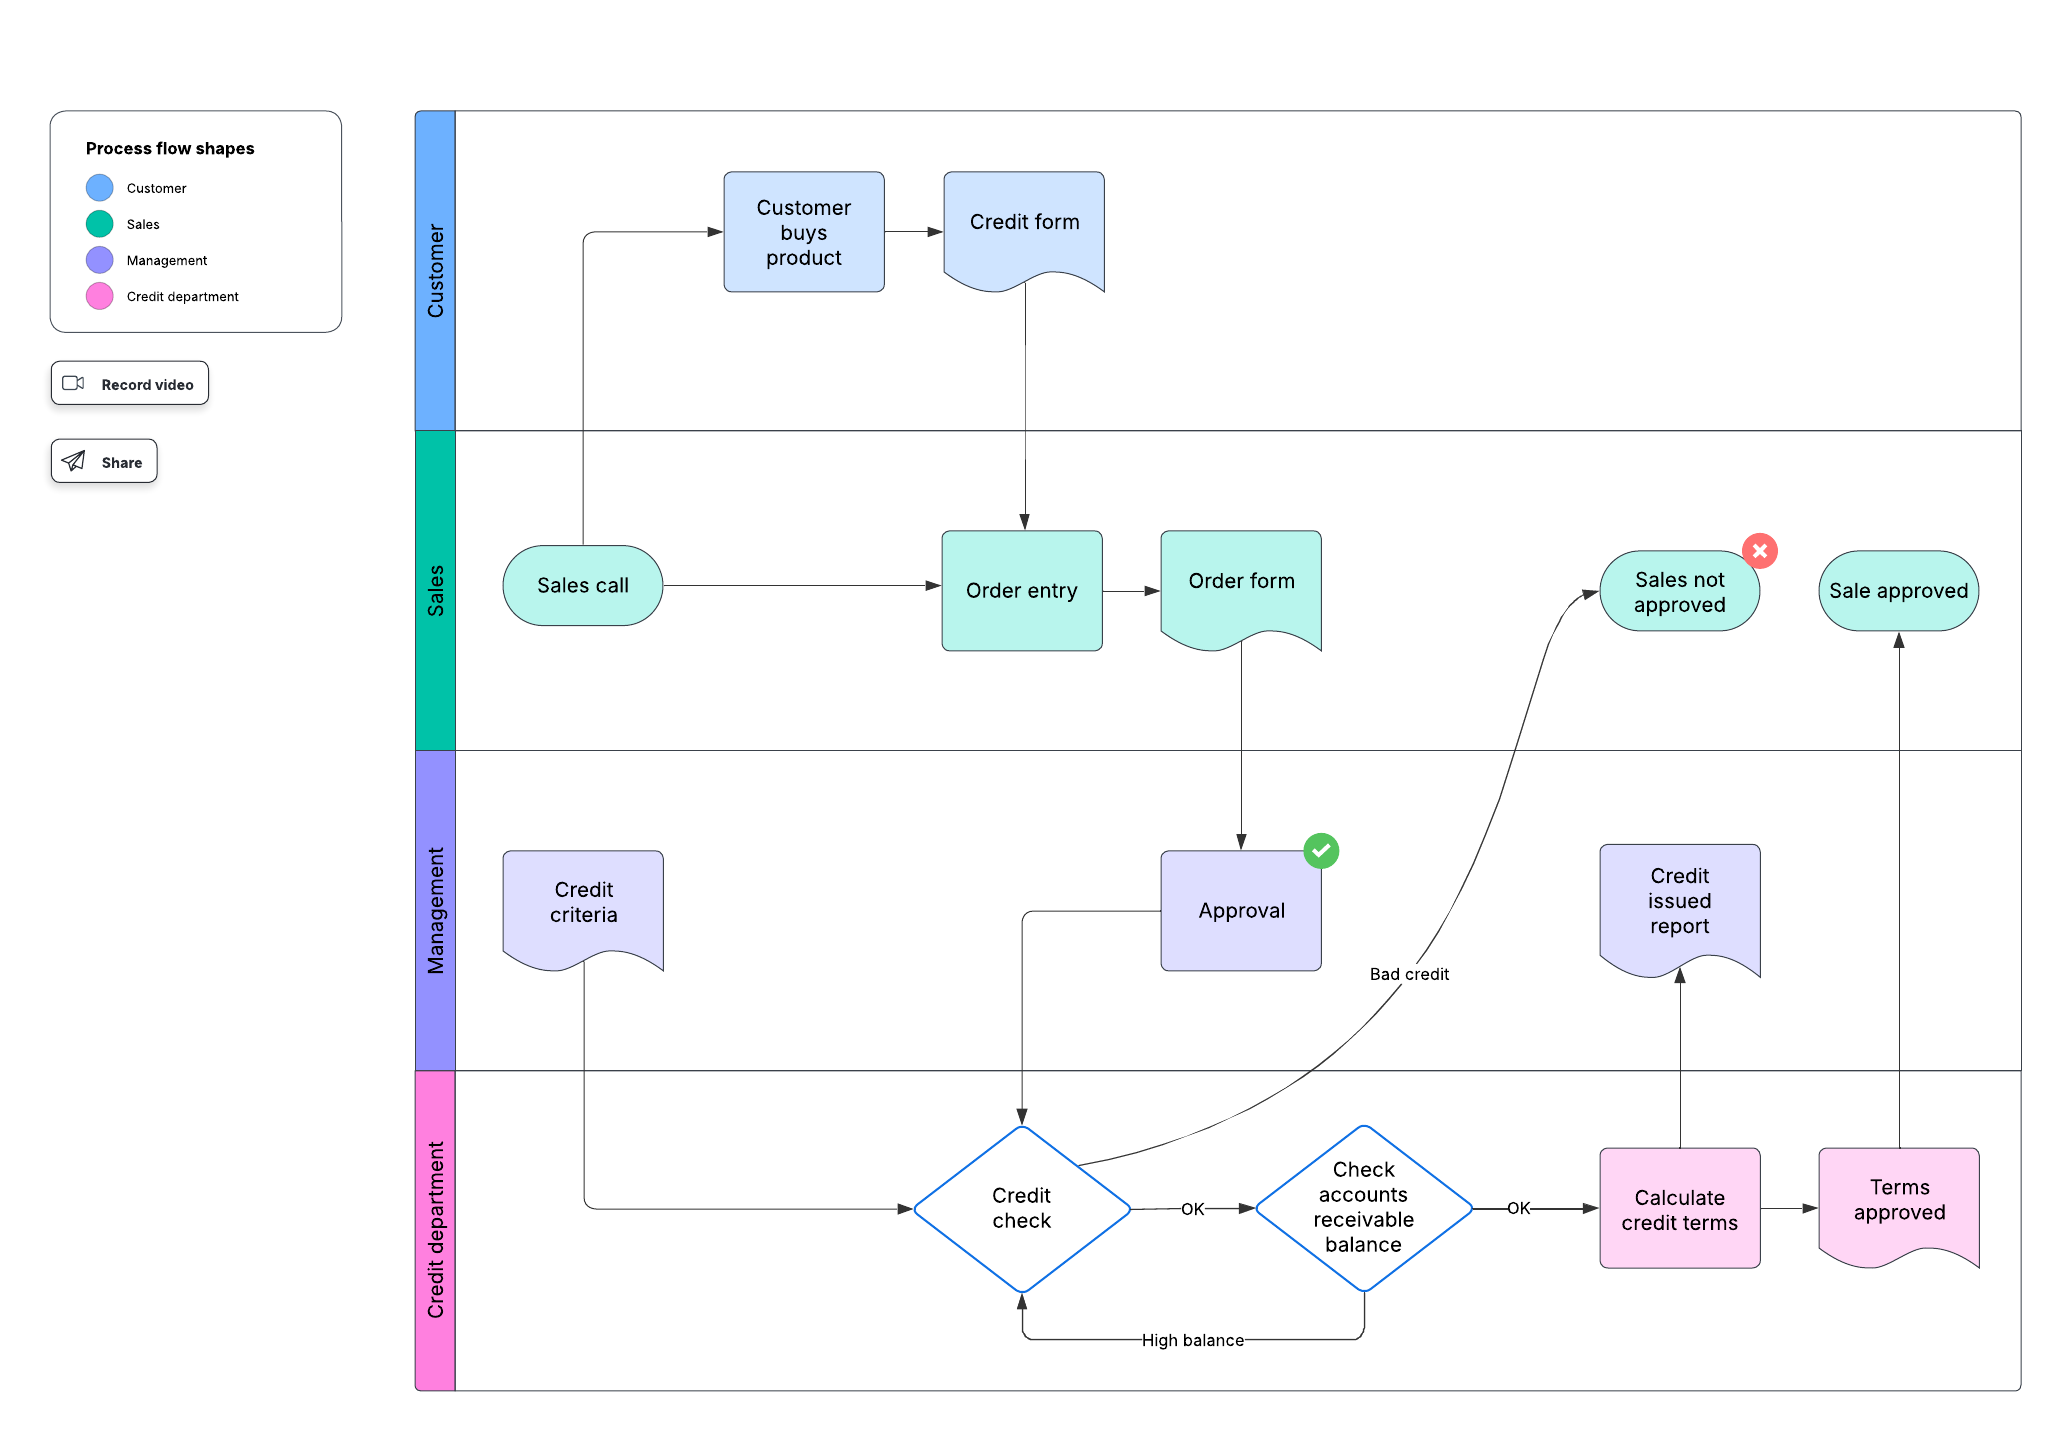
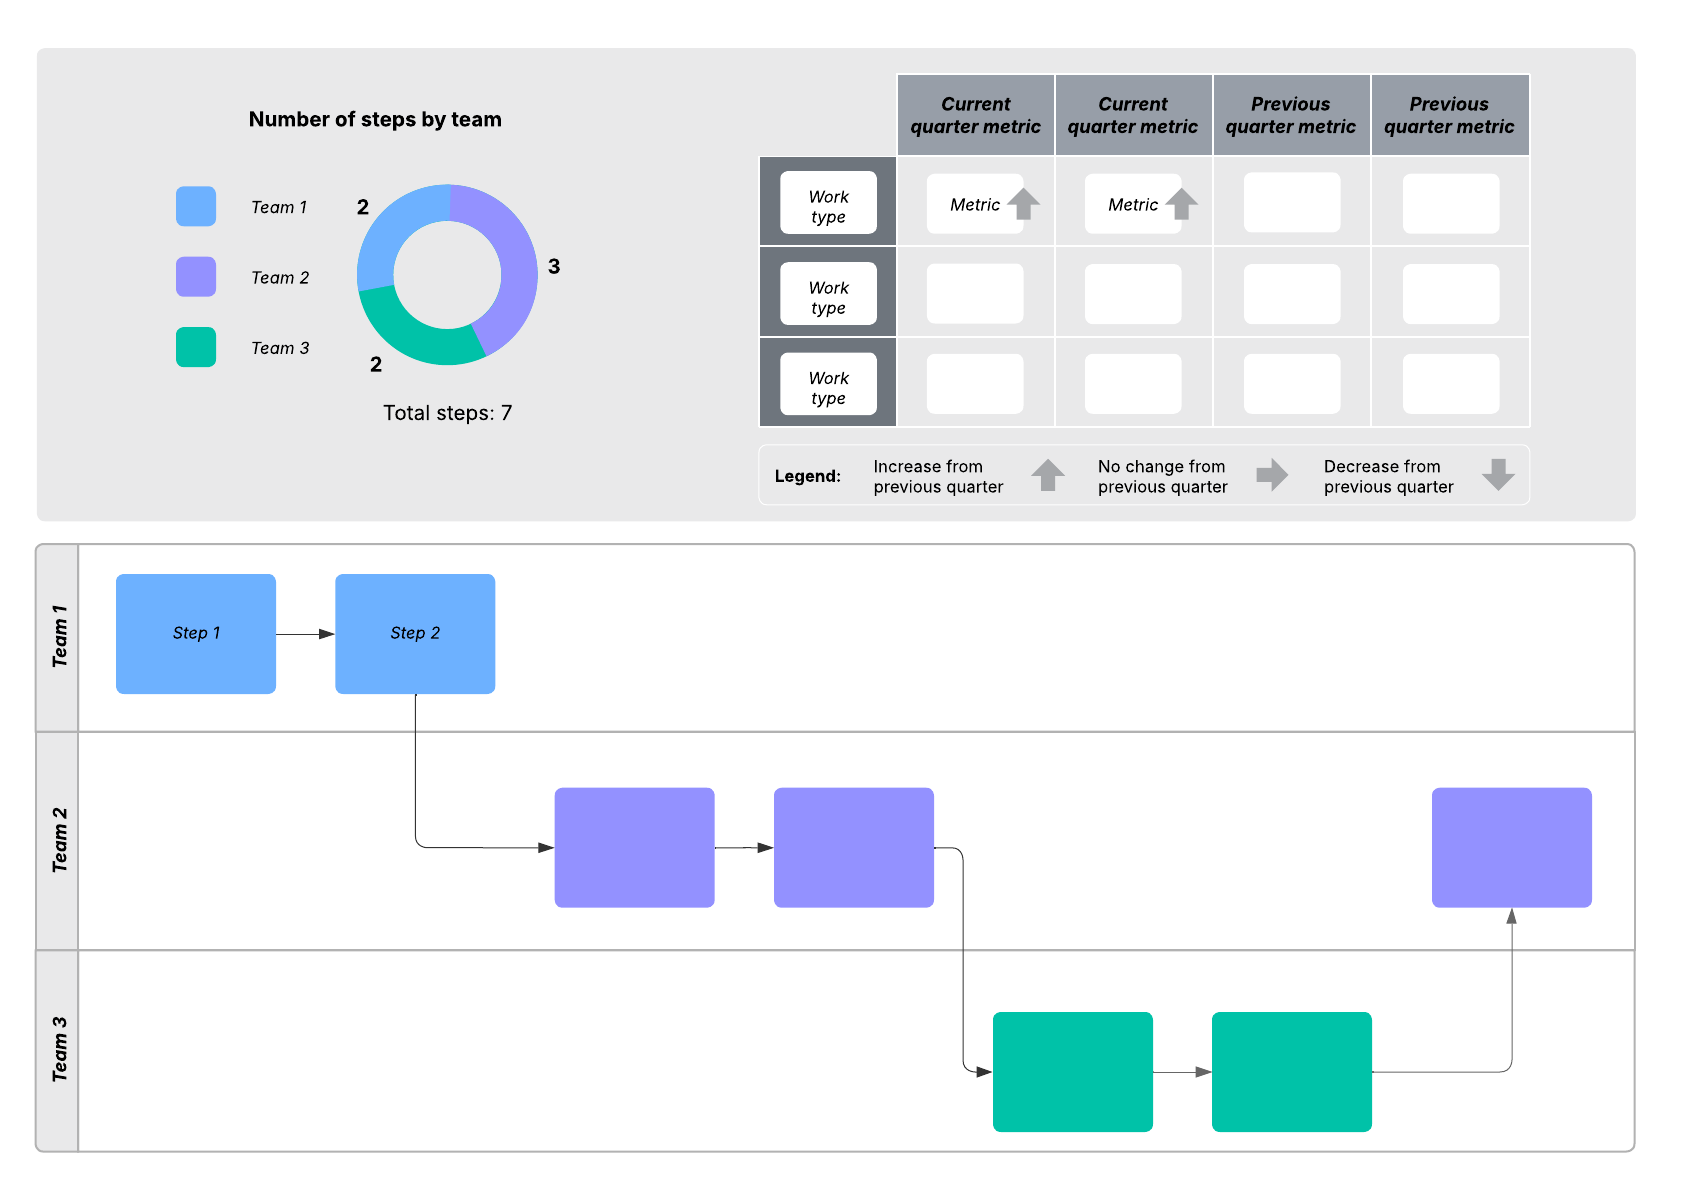
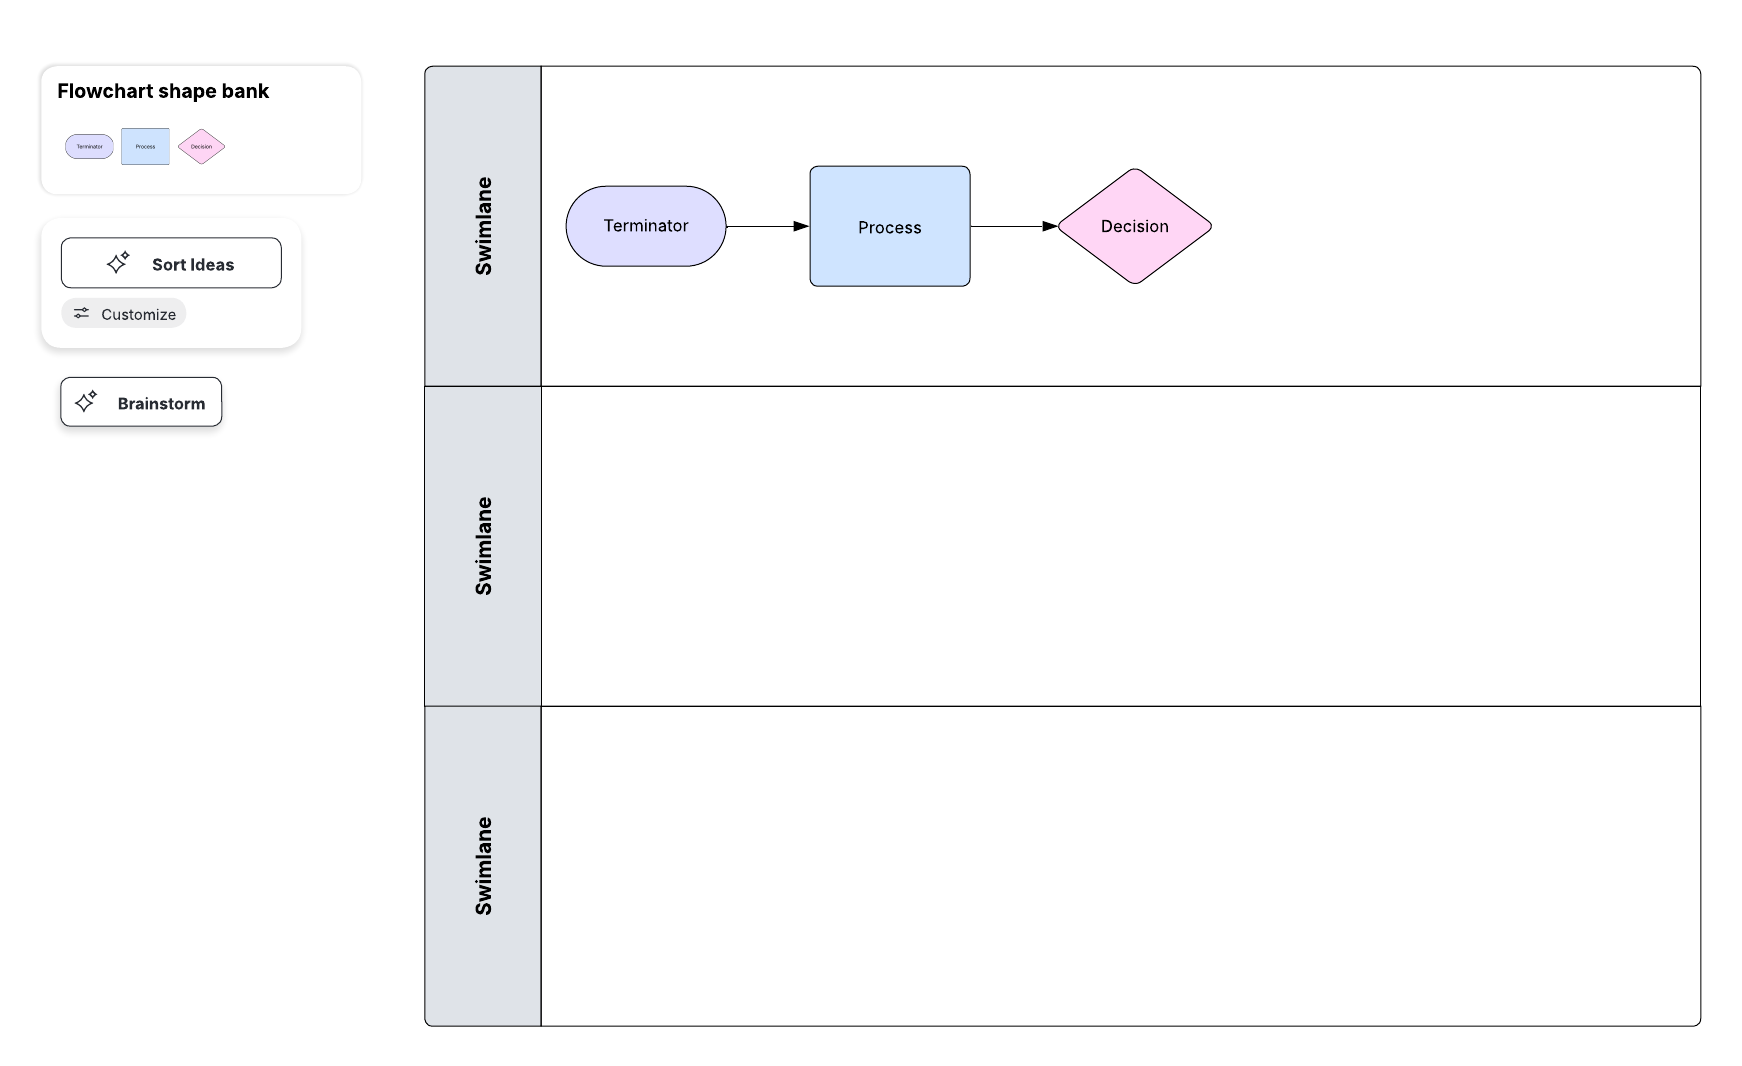
Lucid has dozens of customizable flowchart templates to help you efficiently and collaboratively build and visualize processes. Here are a few we recommend trying:
Business process flow example
Functional process flow
Swimlane process map

Ready to build your own process flow? Explore more process map templates and examples to help you get started.
Go nowAbout Lucidchart
Lucidchart, a cloud-based intelligent diagramming application, is a core component of Lucid Software's Visual Collaboration Suite. This intuitive, cloud-based solution empowers teams to collaborate in real-time to build flowcharts, mockups, UML diagrams, customer journey maps, and more. Lucidchart propels teams forward to build the future faster. Lucid is proud to serve top businesses around the world, including customers such as Google, GE, and NBC Universal, and 99% of the Fortune 500. Lucid partners with industry leaders, including Google, Atlassian, and Microsoft. Since its founding, Lucid has received numerous awards for its products, business, and workplace culture. For more information, visit lucidchart.com.
Related articles
Lucidchart flowchart templates and examples
As you may have noticed from user stories on our blog and our creative flowcharts, you can build a flowchart for just about any purpose to visualize any idea or process. Get started with these flowchart templates and examples!
Why visuals are the best method of process documentation
Learn the purpose of process documentation, the benefits of maintaining and updating process documentation, and why you should use visuals as part of this process.
Documenting processes for hybrid teams
In this blog post, we will learn why process documentation is important, and how to document your own, step by step.
Using the Lucid Visual Collaboration Platform as a single source of truth
See our list of tips and features to help you get the most out of the Lucid Visual Collaboration Platform and make it a place where you and your team can go to find up-to-date documentation.
